How to use Mail Merge and Address Book in Print Shop!
The feature of mail merge and address book in Print Shop will make your life easier and your designing convenient. Now, you don’t have to add the names of your recipient again and again, address book and mail merge will do your work!
Let’s learn how you can update your address book and use this stunning mail merge feature to save you time and hassle of typing!
First you need to update your address book. Open any version of Print Shop and go to option sharing’ and you will find an option of ‘address book’ at the top left corner.
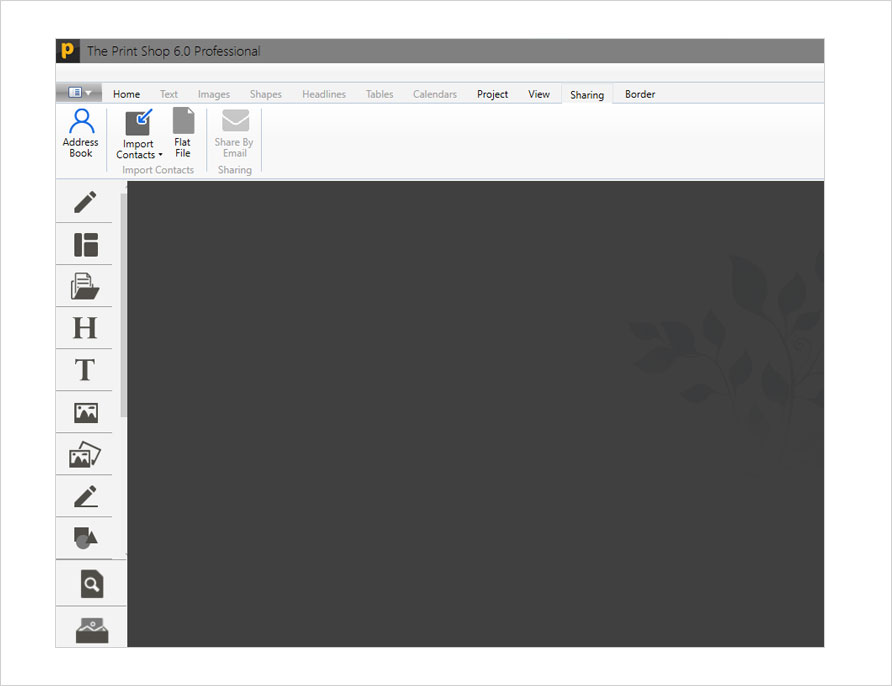
You can either add contacts manually or import them from your previous versions of Print Shop. But in this blog, I am doing it manually.
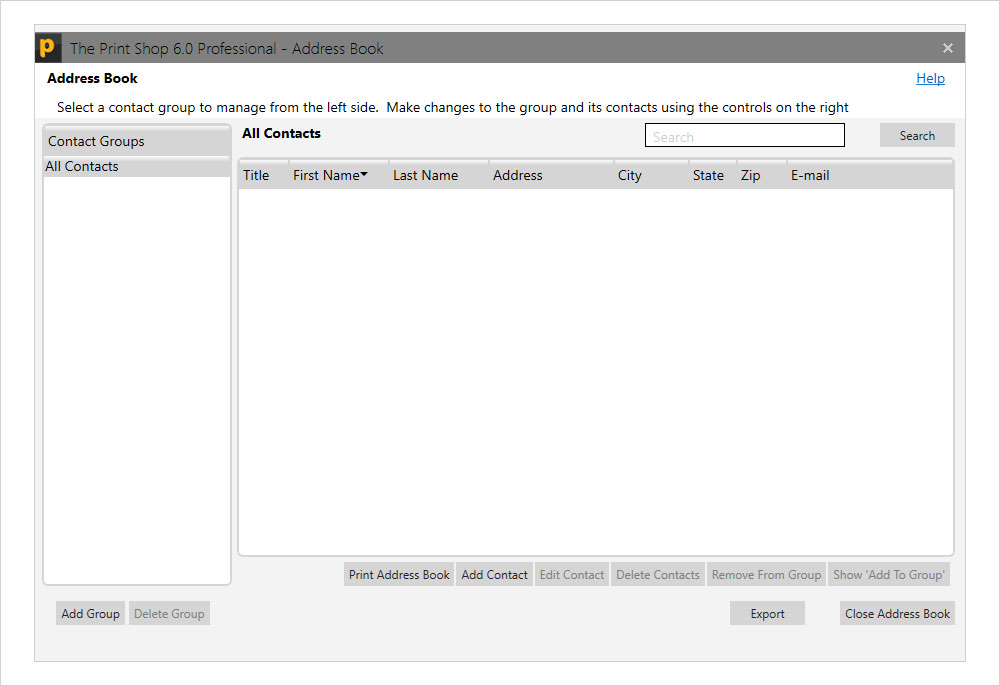
After selecting the option address book’ a menu will appear where you can add your contacts manually and even arrange the lists. For Instance, for your colleagues, friends and family, you can create different lists so for sending anything becomes easier.
To add contacts manually, a menu will appear with certain boxes to be filled upon by you for each of your contact. You can add the desired information as per your requirements and future needs.
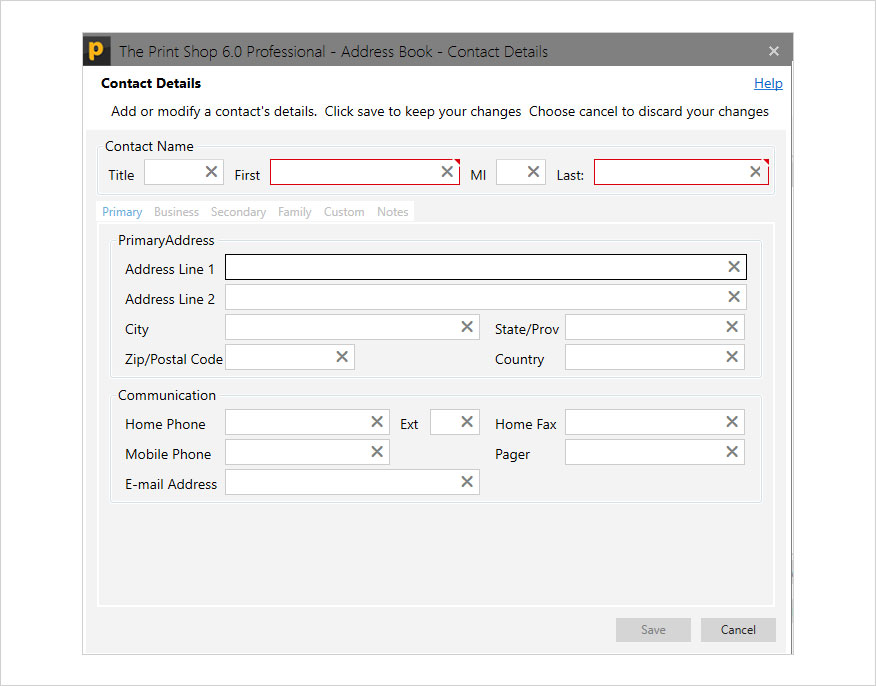
After adding the information, contact will be saved in this directory for you to use. You can add information as per your needs. You can add as many contacts as you want and make a list of them separately.
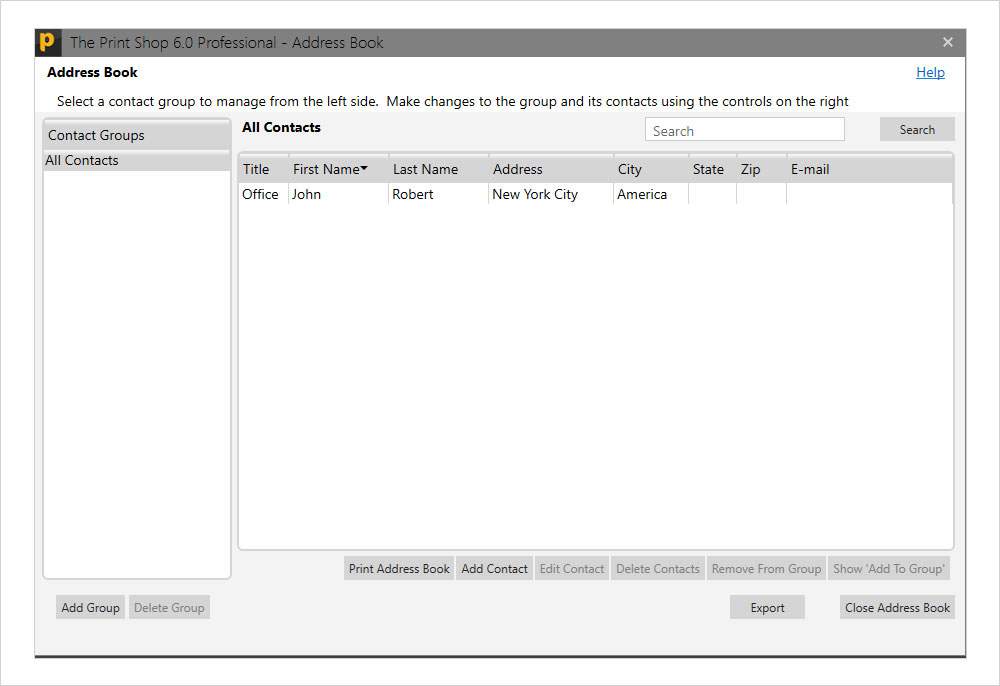
Now, your address book is updated and you can carry on with your designing work. For Instance, you are inviting people on a Party . You can choose your desired template. Double click on your template to insert it into editing slate.

After choosing your desired template, you can edit it as per needs by adding relevant information.
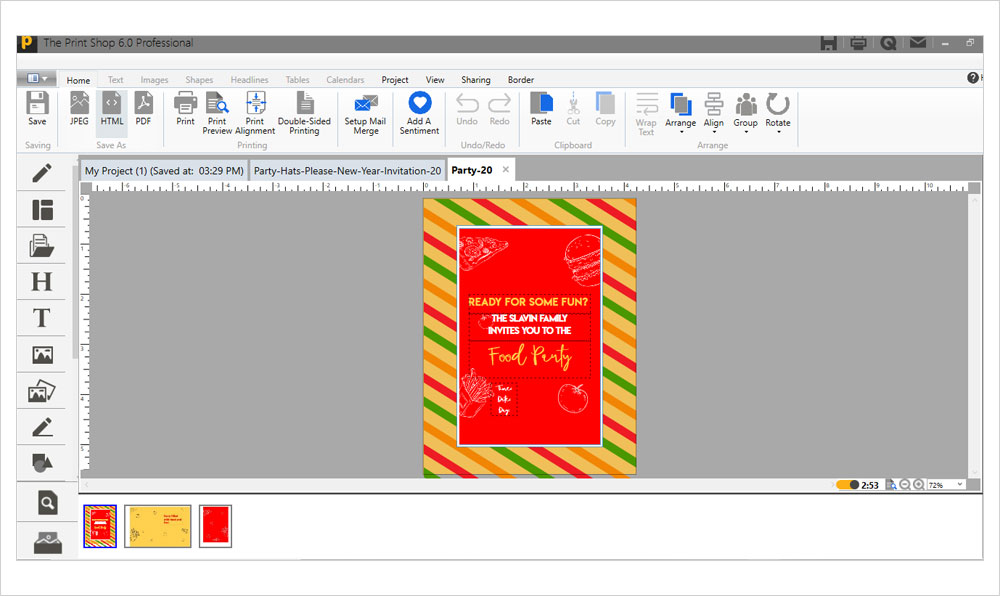
Add a text box in your template where you want to add information of your recipient. Make sure to resize and adjust it as per your contacts’ details. Otherwise, information might not fit properly.
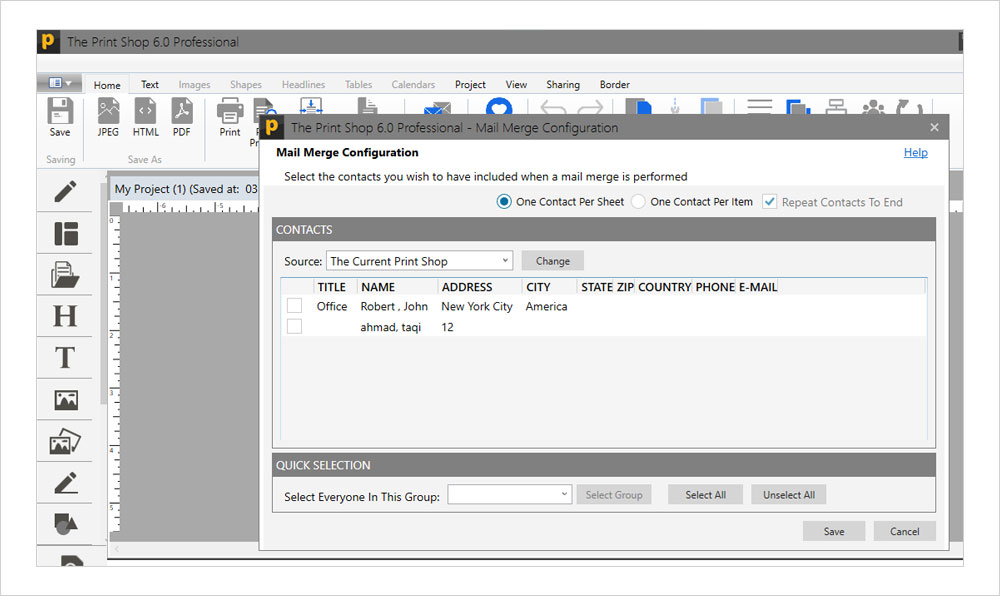
After adding a text box’, choose ‘Setup up Mail Merge’ from the upper menu.
Your address book will appear with list of your contacts.
Choose the list or contacts you want to design invitations.
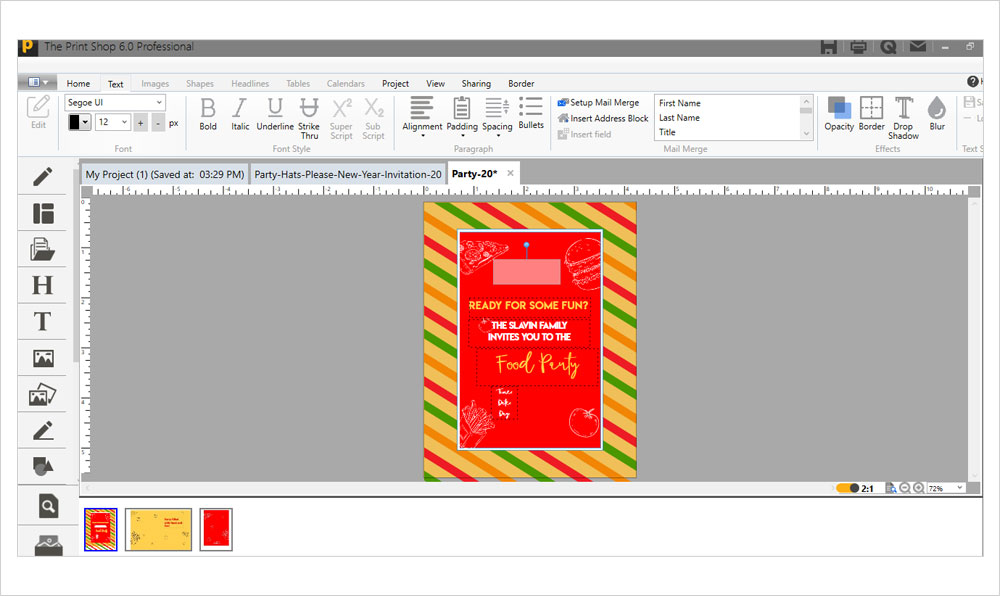
After setting up Mail Merge’, options with a drop-down list will appear, Choose the information
you want to be appeared on your invitation card. And Insert Field’ in the text box you have added.
Let’s suppose the first and last name of your contacts you want to appear on the invitation, so insert fields accordingly and adjust how they should appear.
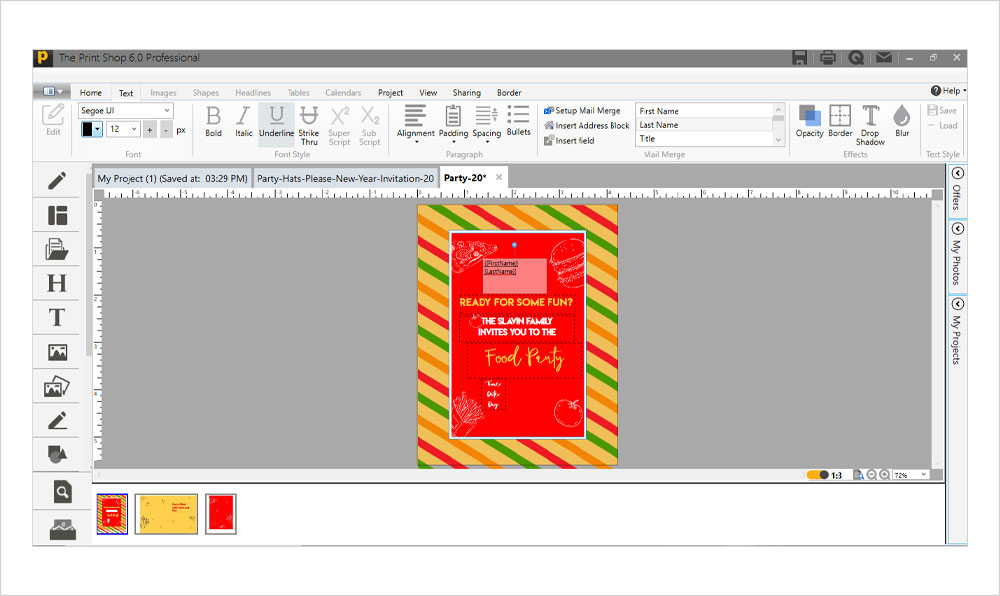
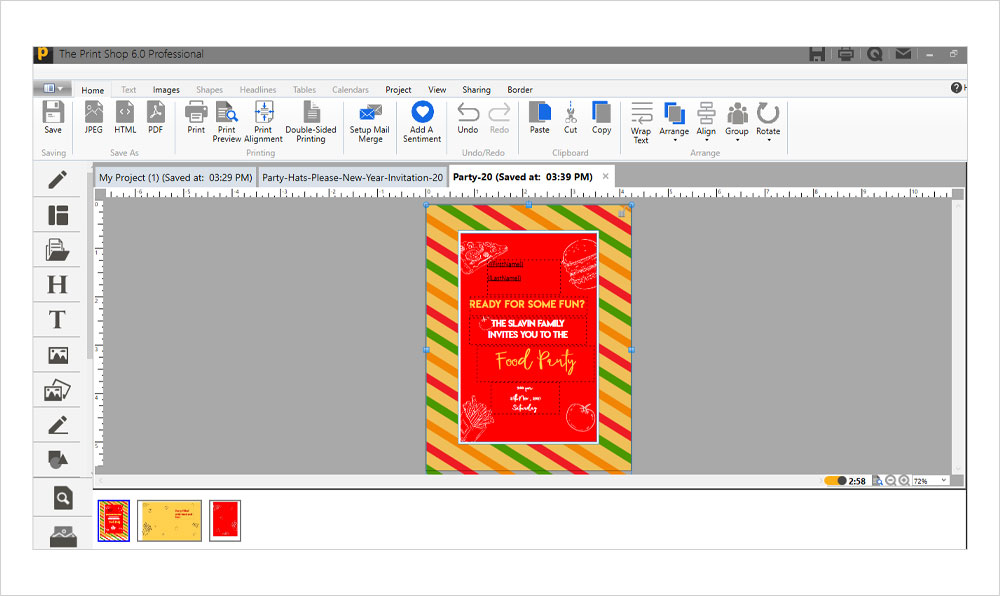
After editing and adding your desired field from Mail Merge’, Go to Home’ and choose the option Print Preview’.
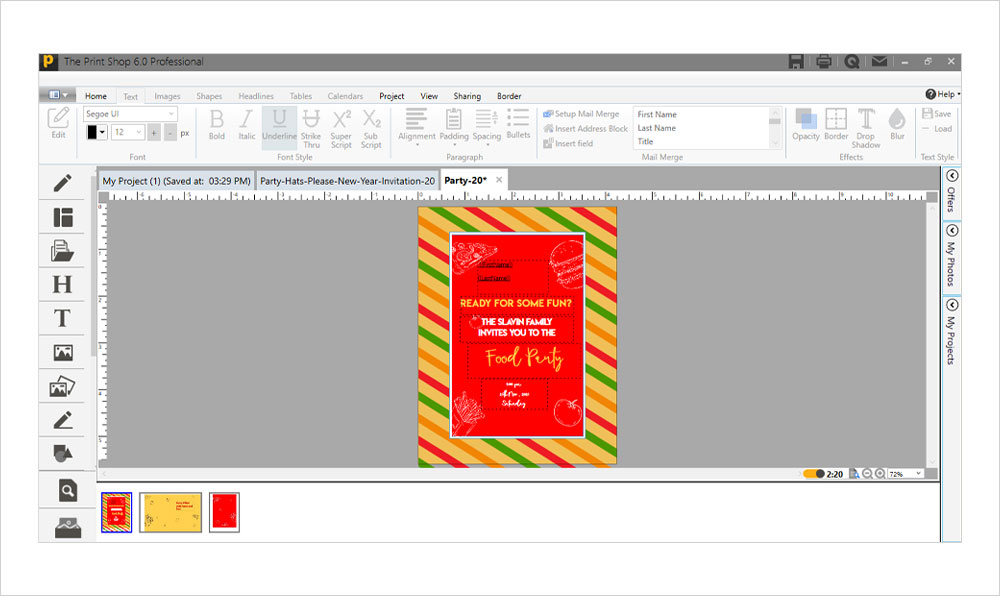
The preview of your design will be shown, which is now ready to be saved, printed and sent to your desired contacts. You can do this for number of contacts.
We value our customers and their time, that’s why giving them a wholesome designing experience in easiest ways! You are good to go to use this amazing feature!
Version used : Print Shop 6.0


