
Start from a ready-made label sheet, bring in your contact list from a spreadsheet, and preview the whole sheet before you print. Mail merge is in both editions of The Print Shop 9 and PrintMaster 2027.
- Save your list as CSV. In your spreadsheet choose Save As, CSV. Put the name and address parts in separate columns.
- Open a label sheet. Home window, Ready-Made Projects, search "Address Labels", and open a design such as Holly and Pine Christmas Address Labels (Avery 5160).
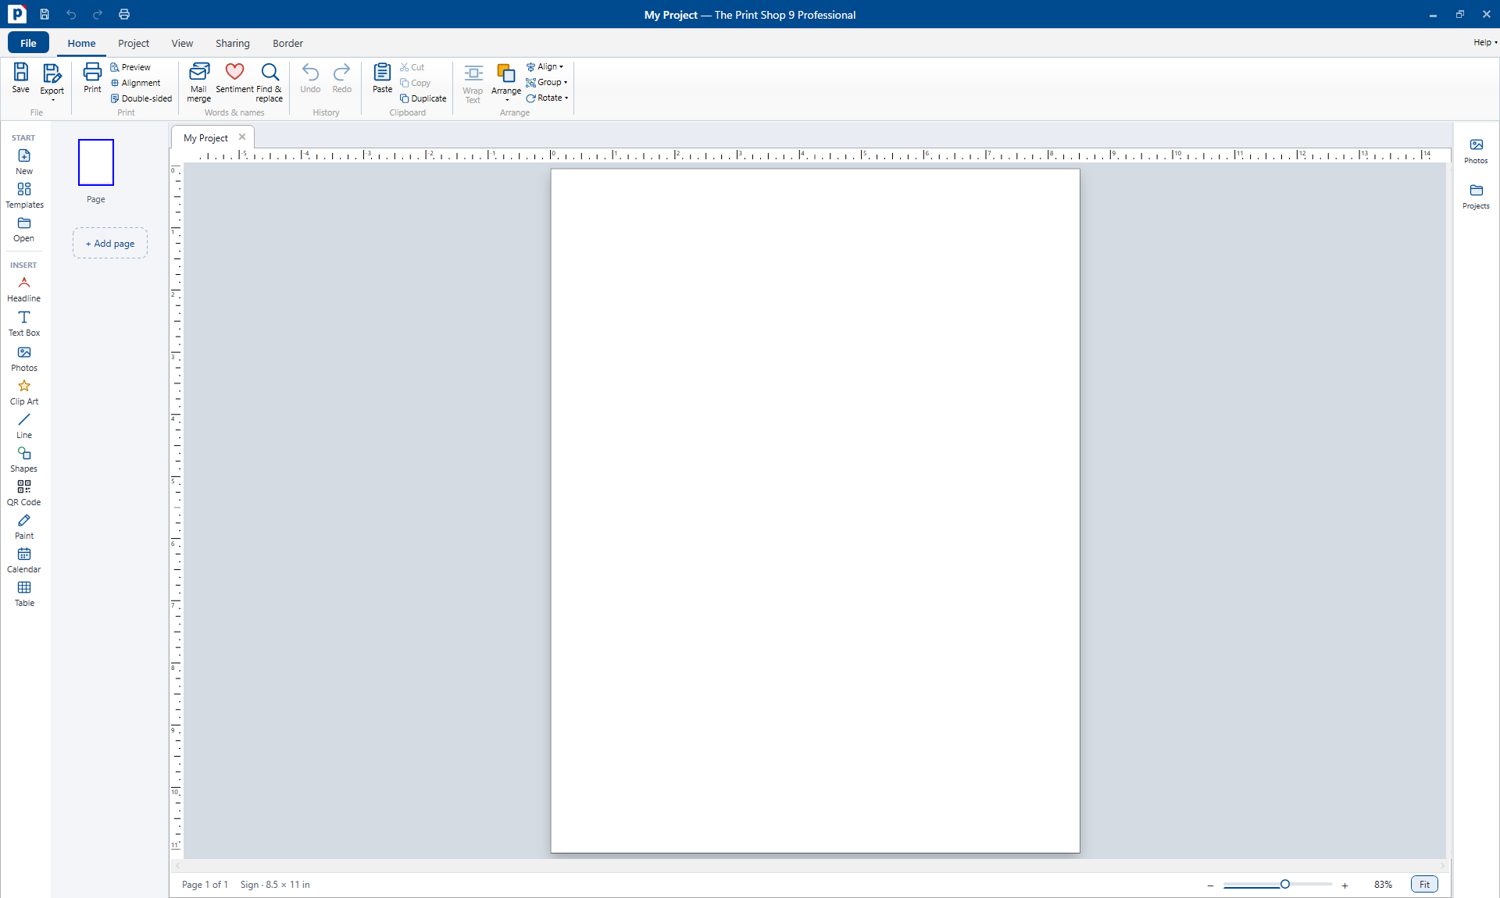
- Set up the merge. On the Home tab, in the Words & names group, choose Mail merge. In the configuration window import your contacts from the CSV file.
- Add the fields. Click into the label text and insert the name and address fields.
- Preview the sheet. Choose Preview in the Print group. Each label shows a different contact. Check that long names and second address lines still fit.
- Print. Print the sheet on your Avery labels. A part-used sheet can still be used if you choose where printing starts [confirm this option in the program before keeping this sentence].
Good to know. Merge creates one result per contact in the print path; do not expect a single combined PDF. Avery sheets in the program are the popular sizes, ready-made and blank.
QA before publish: dry-run the merge on 9.0.0.7 with the sample CSV (video script PS9-08 / PM27-06 UNVERIFIED lists: dialog restyle, Avery list). Do not claim a number of Avery sheets. The "part-used sheet" step comes from the old PrintMaster ideas page ("Labels print to the sheet position you choose") and is not yet confirmed in PS9/PM2027; remove if it fails.
The old how-to "How to use Mail Merge and Address Book in Print Shop" (2021-12-02) and the PrintMaster mail-merge idea mention an address book: not claimed here because it is not verified in PS9/PM2027.