
Calendar Settings
Pages
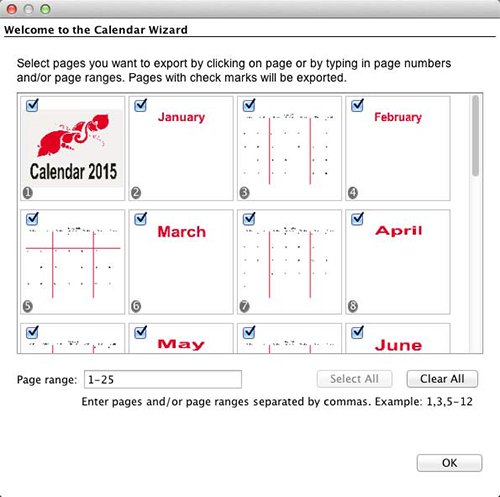
Select project pages using the options in this step:
- The Select All button will mark all pages.
- The Clear All button will clear all pages.
- Alternately, type a range of pages in the Page range field. To indicate a range of pages (e.g. from page 2 through page 5), put a dash in between the page numbers (2-5). You may also enter specific page numbers, separated by commas (1,4,6) or a combination of ranges and individual pages (1-3,5).
- You may also directly check the box in the upper left corner of each project page preview to mark the page.
Click OK to return to the main screen.
Calendar Type
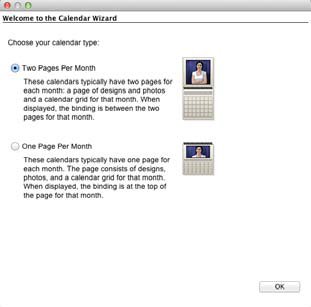
After clicking on one of the options, click OK to return to the main screen.
File Compression
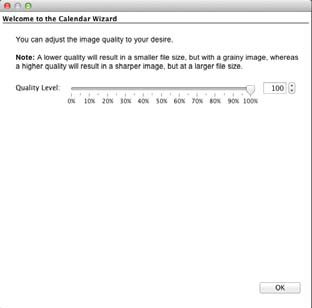
Drag the slider to choose a quality setting. The higher percentages create sharper, more accurate files, but the files will take up more disk space and will take longer to upload to the printing website. Lower percentages will create smaller files, but the files may have a noticeable grainy or blurry character. For good printing results choose 80% or higher.
Click OK to return to the main screen.
Summary
In the Summary screen, confirm that you have approved your project pages by checking the box and then click the Finish button.
The Print Shop will begin preparing each page. When the process has completed, The Print Shop will open the website for calendar orders and begin the upload process. Follow the instructions on the website to complete the order.