
Filling an Object with an Image
You can also fill an object with an Image. To make this simple we are going to use this as a step-by-step example with a shape.
- Insert a Shape into your Project.
- Click on your Shape.

- The Shapes Tab will appear.

- Click on the Fill Drop Down.
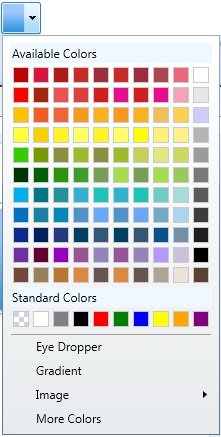
- Click on the option for image.
- Click on Fill with Clip Art.
- Choose an Image from the Image Gallery.
- Now your shape will have an image inside.

Fill Effects
Once your shape has a fill image the Fill Effects Tab will become available to you.

From the Fill Effects tab you can:
- Change your Image - sets a different Image
- Change the Fill options:
- Fill - stretch the Image to fill the object completely
Note: This may cause distortion of the image if it is not the same shape as the object you are filling - Uniform - stretch the Image to fill the object as completely as it can without distorting the image
- Uniform to Fill
- None - does not stretch the image
- Fill - stretch the Image to fill the object completely
- Set your Tiling options
- Click on the tile button to turn tiling on or off
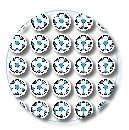
- Preserve Aspect Ratio - keeps your image from stretching too far in any one direction
- Adjust Width - fits more in a row next to one another
- Adjust Height - fits more on top of one another
- Click on the tile button to turn tiling on or off
- Free-form - allows you to move your Image around by using the scale horizontal and vertical options
- Change Scale - increases and decreases the size of your image
- Shift Horizontally - moves your image to the left and right
- Shift Vertically - moves your image up and down