
Creating a Calendar from a Template
To Create a Calendar from a Template you will need to do the following:
- Open the New Project Wizard.
- Select the Calendars Category button.
- In The Print Shop 7.0, you can select to create a calendar in either double-sided portrait or landscape by selecting either option. The default setting is double-sided portrait.
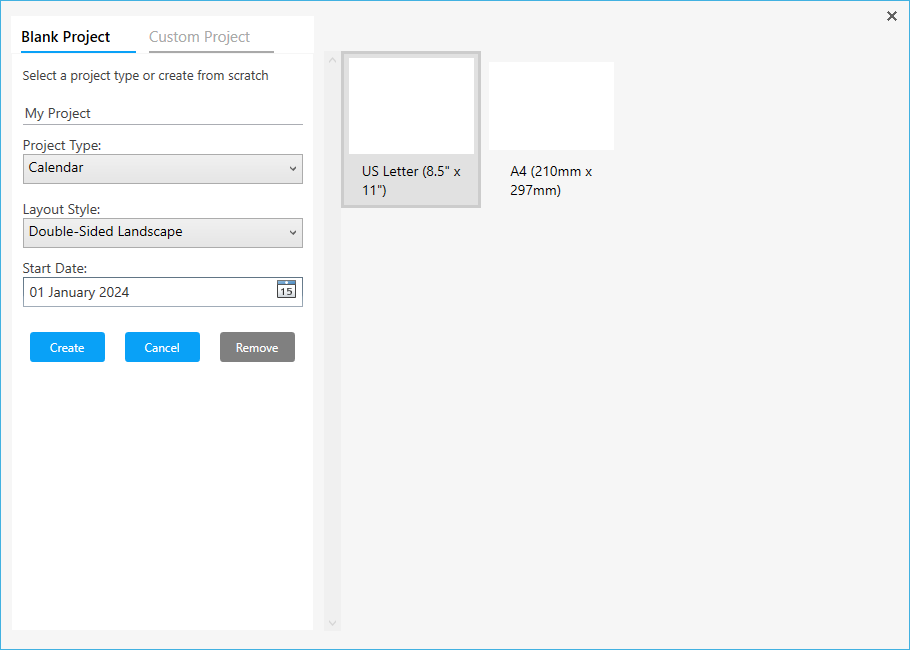
- Choose a Ready-Made project that fits your needs.
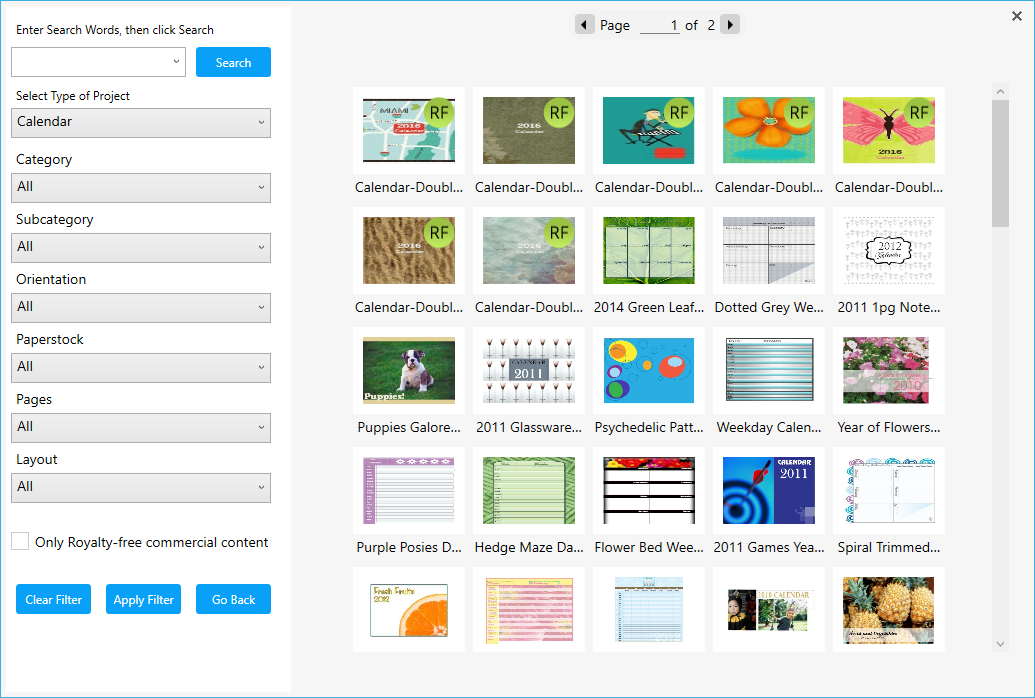
- The Cover Page of the Calendar Template will often have a year already typed in. This will need to be changed manually as it is either a Headline or Text Box. These are not controlled by the Calendar tools.
- Navigate to the first month's calendar in your template using the Page Preview bar.

- Click on the Calendar.
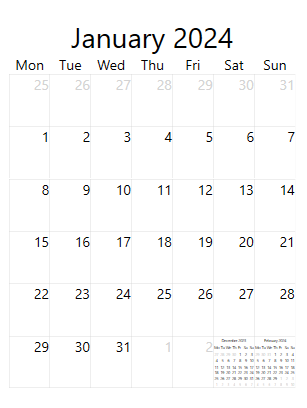
- The Calendar Tab will display.

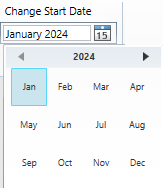
- Type the starting day of your calendar , or click on the mini Calendar icon next to the date to choose a year and month.
Your Calendar is now set up for use, you can now: