
Working with a Master Page
The Print Shop 4.0 introduces the all-new 'Master Page' feature. The Master Page allows you to add an object to the pages within your project with only a few clicks. A Master Page can be added to both blank and ready-made template projects.
Add a Master Page to your Project
- Launch The Print Shop 4.0
- Create a Blank or Ready-Made Template Project.
- Locate the Page Preview feature in the bottom area of the design desk.
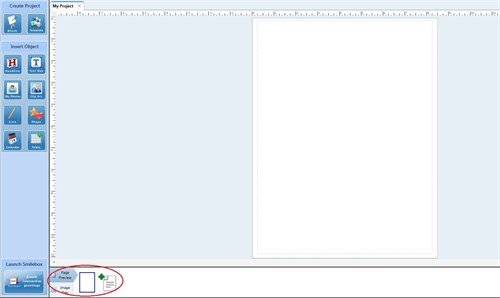
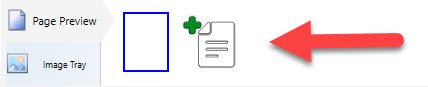
- Notice the total number of pages available in your project. Add a few more pages by clicking the add page feature.
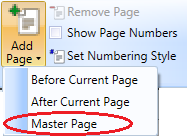
- In The Print Shop ribbon, select the Project tab and click the Add Page feature. From the list of options, choose Master Page.
- The Master Page is immediately added to the Page Preview. The Master Page is outlined with a magenta color when selected, the other pages are outlined with blue when selected. These colors help you differentiate which pages are selected. When the Master Page is not selected, the color outline becomes red.
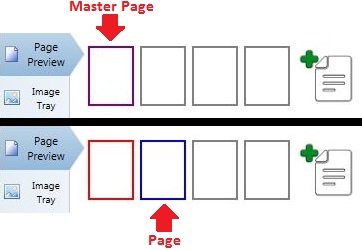
- Select the Master Page and add a few objects to your project.
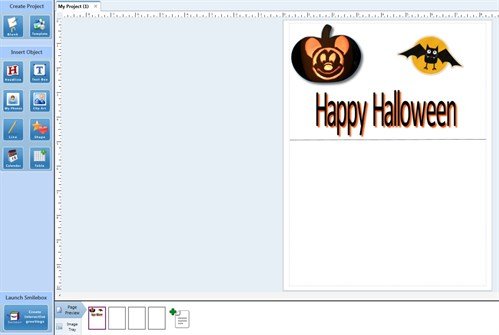
- Return to the Page Preview and confirm that your Master Page is still selected. Now, select one of the pages to transfer the design from your Master Page.
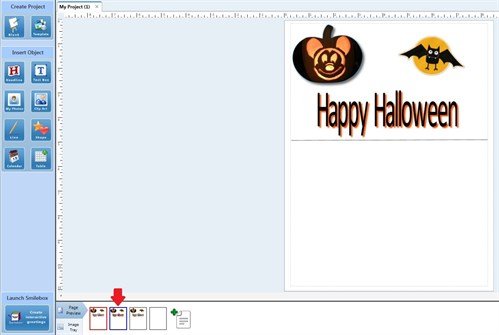
- The Master Page can be used to personalize pages with designs that are different from the other pages in your project. Simply add a new design to your Master Page, and then select the page that you want to add the new design to.
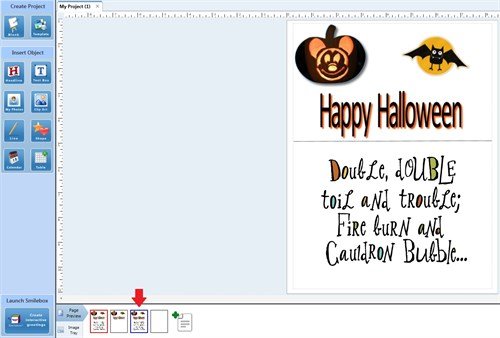
NOTE: You can add design objects to the other pages without using the Master Page feature. However, the Master Page design objects will always add onto a page once it has been selected.