
Working with Custom Borders
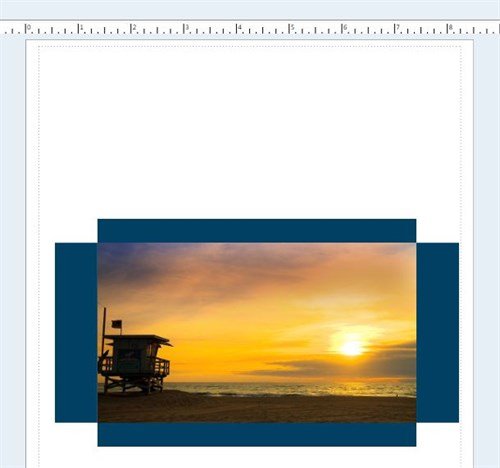
The new Custom Border feature is exclusive to The Print Shop 4.0. This feature allows you to customize and design a border that you can add to your project. Style the border area with clip art or images from your My Photo gallery. The Custom Border tool is perfect for photo projects, allowing you to personalize your digital photo album with a creative touch.
Adding a Custom Border
- Create or Open an existing project in The Print Shop 4.0.
- Select the Border tab available in the Print Shop ribbon.

- Click on the Custom Border icon.

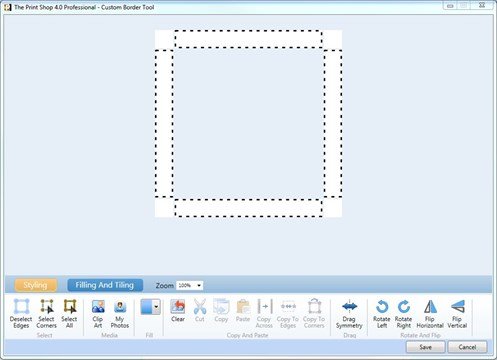
- In the Custom Border Tool, select the areas that you want to customize. Notice that you can select Edges, Corners, or all Border areas.
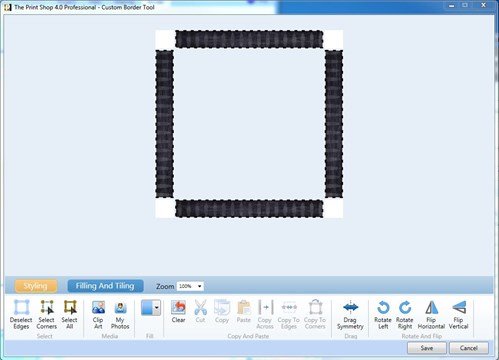
- Add Clip Art or an Image from you My Photos gallery. The image below shows Clip Art that was added to the Edges.
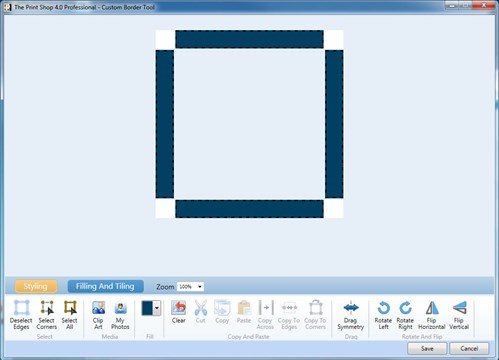
- Instead of adding any Clip Art or Images, you can Fill the selected area with a color of your choice.
- Save the Custom Border to add your design to your project.
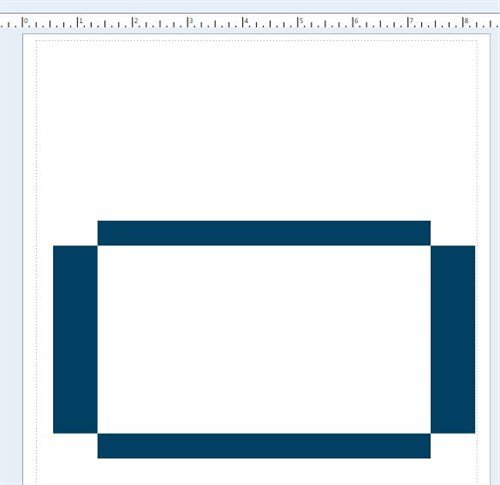
- Add an Image, Clip Art, or customized design to the center area.
Deleting a Custom Border
- Select the Custom Border design.
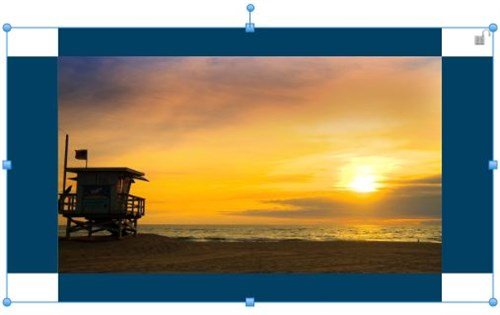
- Select the Remove Border feature available in the Border tab within The Print Shop ribbon.
