
Hover Menu for Design Elements
The Print Shop 4.0 introduces the all-new hover menu feature, which allows you to make quick changes to design elements without using The Print Shop ribbon.
Use the Hover Menu to customize the following:
- Clip Art Object
- Image Object
- Text Box Object
- Line Object
- Shape Object
NOTE: This feature is automatically enabled when you launch the program for the first time. You will need to disable this feature if you no longer want the hover menu displayed.
Clip Art Object
- Launch The Print Shop 4.0.
- Create a Blank or Template Project
- Insert a Clip Art Object to your Project
- Notice the Hover menu that is displayed when the Clip Art object is selected.
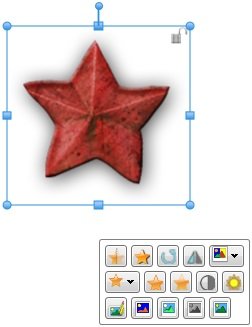
Image Object
- Launch The Print Shop 4.0.
- Create a Blank or Template Project
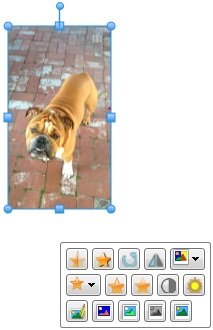
- Insert a Image Object to your Project
- Notice the Hover menu that is displayed when the Image object is selected.
Text Object
- Launch The Print Shop 4.0.
- Create a Blank or Template Project
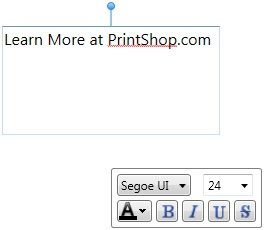
- Insert a Text Box Object to your Project
- Notice the Hover menu that is displayed when the Text Box object is selected.
Line Object
- Launch The Print Shop 4.0.
- Create a Blank or Template Project
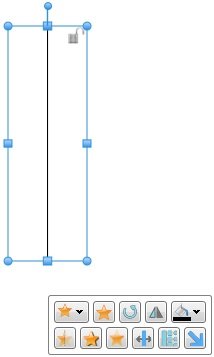
- Insert a Line Object to your Project
- Notice the Hover menu that is displayed when the Line object is selected.
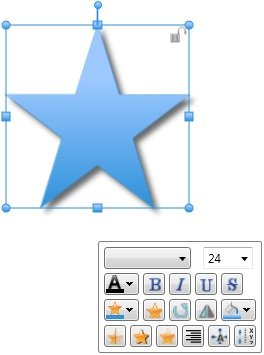
Shape Object
- Launch The Print Shop 4.0.
- Create a Blank or Template Project
- Insert a Shape Object to your Project
- Notice the Hover menu that is displayed when the Shape object is selected.
Enable/Disable the Hover Menu
- Launch The Print Shop 4.0
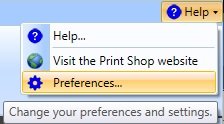
- Proceed to the Help Menu, and select Preferences...
- Navigate to the Visual Hints tab, and locate the last checkbox in the 'Other' section
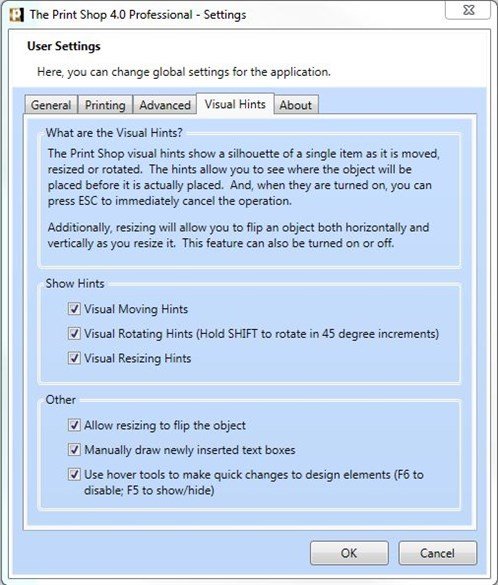
- Another method to enable/disable the Hover menu is to use F-Key functions (F6 to disable; F5 to show/hide).